Planning on trailering your boat long distances? Keep these considerations in mind.
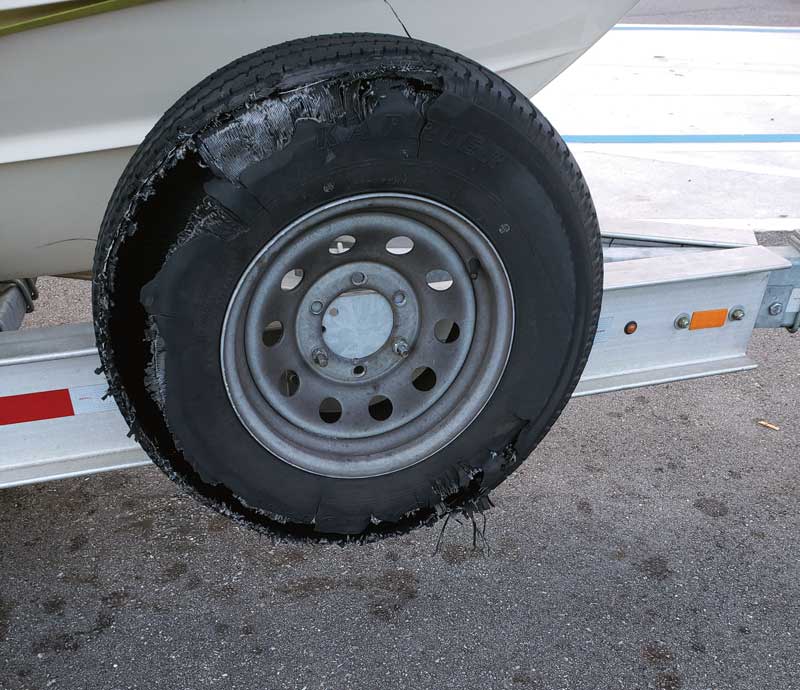
BANG! Not a noise I wanted to hear at 4 a.m. as I exited the ramp off I-95 near Richmond, and a noise I was to hear three more times on this journey.
I had left home at 1 a.m. towing my 28-foot Grady-White to West Palm Beach, FL, where I would launch and head to the Bahamas for two weeks of fishing and cruising. The prior week found me completing a checklist of the normal tasks—checking trailer lights, tire pressure, brakes. My normal pre-check did not help me avoid four flat tires, and I hope I can help each of you have a better trip than I did.
I know what you’re thinking: another magazine article reminding you to check your lights and tire pressure? Not hardly. This is written to help those who trailer their boats long distances and for those who do not want to be sitting on the shoulder of the beltway at 9 a.m. with a disappointed crew staring daggers at you. My list might seem excessive but count how many boats you see sitting on the side of the road the next holiday weekend. So, let’s start!
First, buy the correct trailer, one that fits your boat. We know it is easy to overload a trailer with a boat full of supplies and a full tank of gas. But it is also important not to have too heavy duty of a trailer that will not allow enough give as you bounce down the highway. The Goldilocks trailer, if you will, but I do prefer a trailer that has a longer tongue to allow jack and spare tire mounting.
Now the work begins.
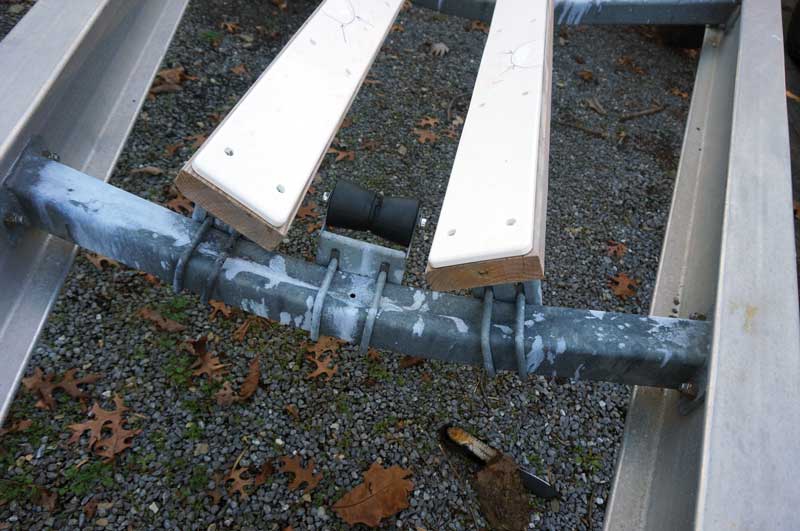
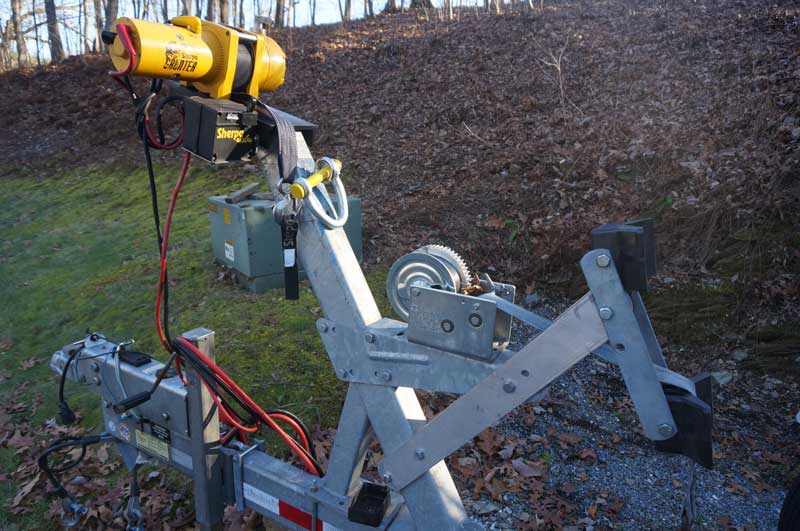
Step one: position the boat on the trailer so that the boat’s transom is flush with the end of the bunks. Easy enough but we are not done. Next, move the bunks outboard or inboard as needed. Outboard will lower the boat, which is great for towing, as the center of gravity is lowered but too low and you could cause the boat to hit the trailer fenders or the nose to hit the trailer frame upon launching. And you need to position the bunks to allow the boat to lie flat on each bunk and not rest on any protrusions or stringers. I also suggest the addition of a set of poly bunk glides and eliminating the carpet most currently have. Launch and retrieval is 10 times easier with these installed. My boat is 10,000 pounds, and I launch it solo with no difficulties. Another benefit of the poly glides is the ease of being able to grind depressions to accommodate thru-hulls.
Step two: tongue weight. There are dozens of different methods to measure tongue weight and I will not address them in this article, but we can agree that most trailers require nine to 15 percent tongue weight to avoid fishtailing. The majority will move the boat forward or backward on the trailer to achieve this percentage, but if you shift the boat, you have changed where the transom sits on the bunk. Move the boat aft and the transom is unsupported. Move the boat forward and the bunks could hit the engines or the transom-mounted sonars.
What you should do is move the axles. This requires more effort, but it will position the boat where it needs to be on the trailer and provide correct tongue weight. What is critical when moving the axles is to keep their ends the same distance from the hitch. A tape measure will allow you to line your axles and avoid pulling or tire wear. But not always. I own a triple-axle trailer and find the front axle must be positioned off center for the tires to run true. How did I find this exception? My front tires were wearing differently than the other four tires and when the boat was off the trailer, you could see they were not aligned. I used a straight edge placed along all three tires on each side to insure their proper alignment.
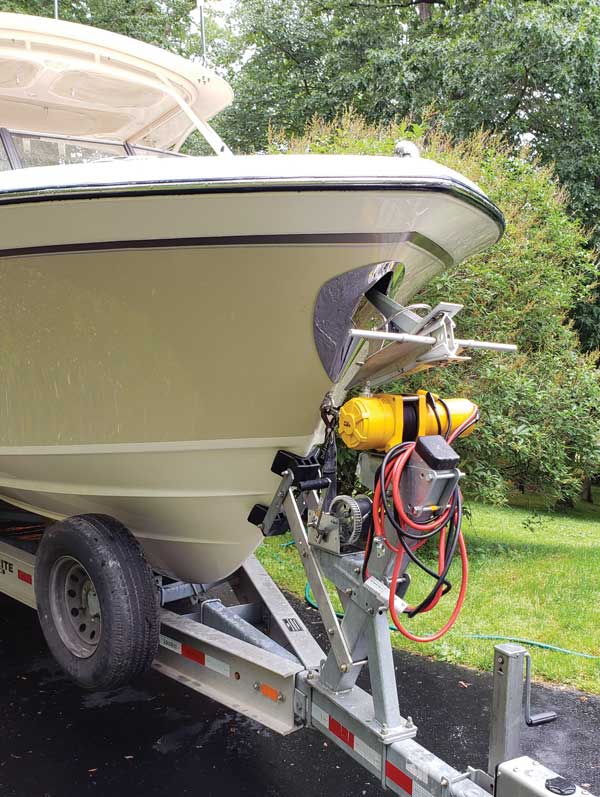
Step three: winch placement. Let’s begin by moving the front mount containing the bow stop to ride against the bow of the boat. Most trailers will provide an upper and lower rubber bow stop and most run the winch line between the two stops providing a secure set-up. Great! But you need to have the winch line pulling the boat straight ahead or pulling slightly up. Pulling down on the front of the boat while trying to winch it forward requires more effort than pulling it straight ahead.
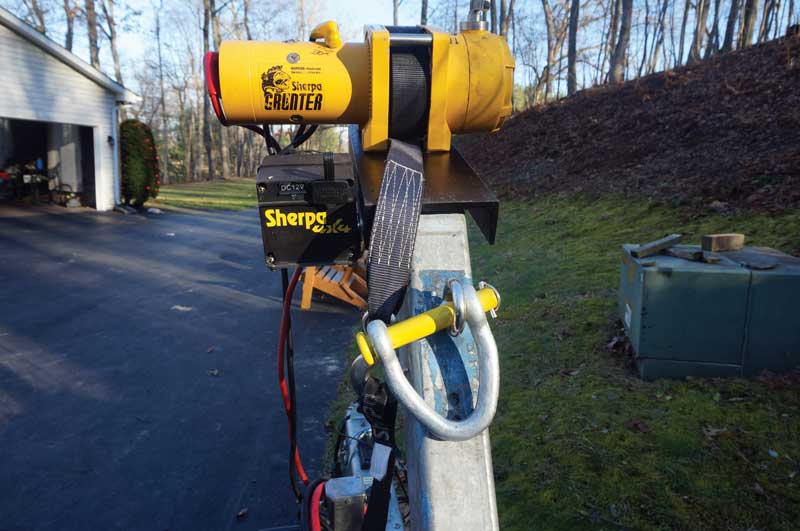
If your bow stops require you to have the line pulled downward while winching forward to enable the boat’s bow eye to rest between the stops, then remove your mounts for the bow stops and reverse them. Most brackets have a long and short side allowing you to properly position the winch for an upward or straight pull. I use an electric winch but have kept my manual winch mounted lower which allows for a back-up and serves to pull the bow eye down after it has been pulled forward.
Step four: straps. Earlier this year I saw a boat sitting on the side of the road after separating from the trailer. This is not uncommon. I spoke earlier about adding poly slides to the bunks to make launching easier. Unfortunately, they also make it easier for the boat to slide sideways unless the boat is properly attached to the trailer. I suggest straps with a winching capability to gain enough tension, and while I probably use more straps than required, I will go with better safe than sorry.
The two unique straps I use go from the bow eye running back on each side that attaches aft on the trailer. These two straps are to prevent the boat from sliding forward during a quick stop. I found the bow stop does not provide the stopping power needed as the boat rides up and forward in a quick stop. Two straps will keep the boat on the trailer in those emergency stops.
But our sharper readers will note that none of these steps would have prevented my four flat tires last summer. And so, I will offer further advice as these first steps are simply the basics of fitting and connecting your boat to your trailer. There is more!
Tires. My trailer is six years old; pretty new by most standards. The tires have some wear as I have trailered the boat to Wisconsin and three times to Florida along with weekend runs to the ocean, but each had plenty of tread remaining. Plus, I carry a spare, so I’m all set. If I were traveling 10 miles to the local ramp, I would have been fine, but I was driving over 1000 miles in 99-degree heat. Is there a difference in the stress a tire experiences long distance vs. shorter runs? As I learned, the answer was YES! This was explained to me by the Goodyear manager as they mounted new tires for me somewhere in South Carolina.
Towing long distances at high speeds in high heat does not allow the tires to shed heat, and the result was scrambling to find new tires during our vacation. The manager shared (which I later confirmed by research) that trailer tires should be replaced every five to six years if you plan on doing these types of trips. I now have seven new tires and will keep track of when they should be replaced.
Brakes. Making sure they work is only part of the game. Your trailer brakes work a few times a month unlike your car that sees daily usage. Rust and grime can cause brake failure by either sticking and overheating or not providing braking power. This is not my favorite job, but I do clean my brake pads with brake cleaner along with each rotor. Two bolts hold each brake caliper, and their removal will allow for proper cleaning or replacement of pads. A little grease on the bolts when assembling them will help the next removal. Cleaning the rust from the calipers will allow easier movement, reducing overheating.
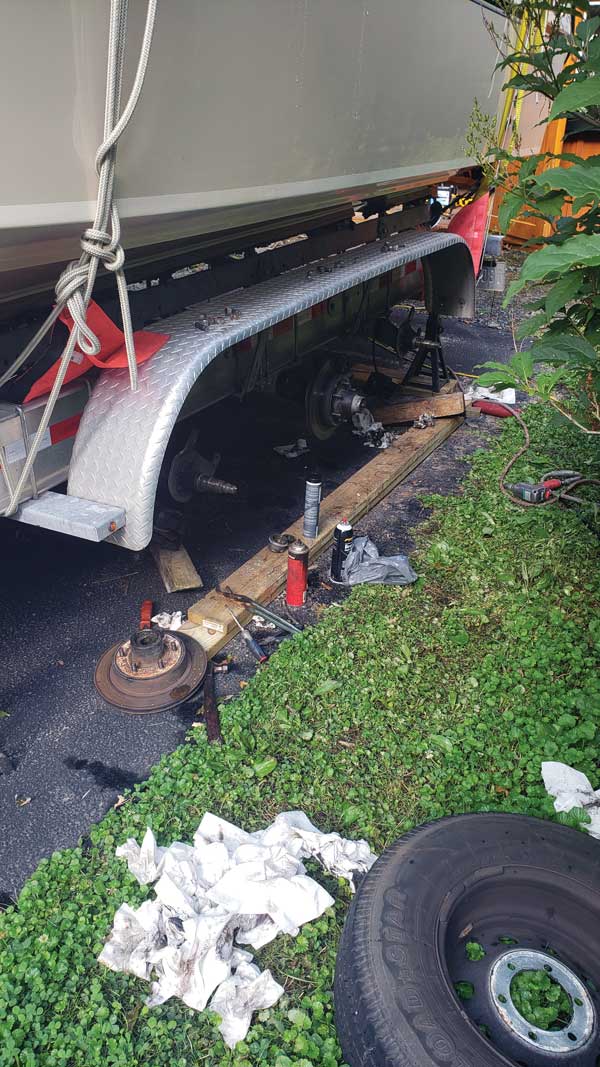
Rotors and hubs. Often connected in disc brake systems. Prior to each long haul, I jack up each side of the trailer and spin each tire. This year I was rewarded with two wheels that sounded like fingernails across a chalk board. I had choices. I could have removed the races and bearings along with the grease seal and beat new ones into place, or I could have bought an entire new hub which came with the complete set-up. Whichever way you choose to go, you will feel satisfied when that wheel spins smoothly with no grinding noises.
While at the trailer store I also purchased an extra complete hub set-up and an additional set of inner and outer bearings and races. Why the extra hub? Having changed bearings alongside a busy highway during rush hour I now carry a complete hub to allow for a quick and much safer change. And make sure your grease is correct for high temperature disc brakes as disc brakes run much hotter than the older drum brakes and will turn grease to liquid and run out of the hub and will coat your shiny wheel.
One last item. I carry an eight-ton jack, large blocks of wood, grease gun, and everything needed to change brakes and hubs. These are dedicated tools and reside in a very greasy toolbox along with a roll of paper towels and waterless hand cleaner.
This was not your typical ‘check your tires and lights article’ and while all can benefit, those of you who trailer hundreds of miles each weekend heading to the ocean or other locations might add a few of these steps into your Thursday night pre-launch checklist.
Tight lines!
By Joe Borrison