PropTalk production manager Zach Ditmars shares the story of his acquisition and restoration of a Carolina Skiff J16 with a Johnson 48SPL outboard.
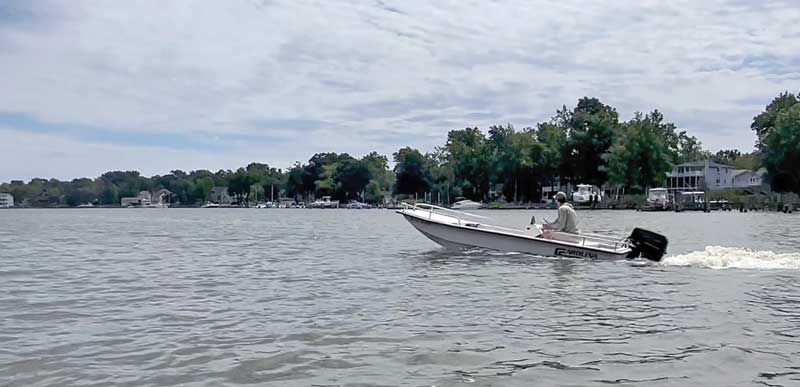
I’ll be honest, working at a boating publication for over a decade can certainly cause a serious case of boat envy. I’m grateful to have had plenty of opportunities to enjoy other people’s boats, and I have no problem hitting the water on my kayaks. But deep down I have long yearned for a boat of my own, and I knew that if I was patient that one day the right opportunity would present itself.
Well, this day turned out to be the Fourth of July in the summer of 2023. I was having a casual conversation about crabbing with my friend Sean at a backyard barbeque when he told me his dad Mike had an old boat just sitting unused in his driveway. He wasn’t looking for much, but rather he just wanted it to go to someone who would use it. We soon set up a time to meet and I went to take a gander at his 2004 Carolina Skiff J16. To be honest, I was never particularly fond of the look of these boats in the past but after taking a closer look, I realized that being an avid kayaker, a skiff was the perfect boat for me. The J16 was sitting on a 1984 Sears bunk trailer and had a 1996 Johnson 48 SPL on the transom. I was told it ran strong when it last ran, which was an indeterminate number of years. The boat, motor, and trailer all needed some major attention. I knew I had my work cut out for me, but I was up for the challenge. We drew up a bill of sale and Mike signed the titles to me for such an unbelievable price I thought it was too good to be true.
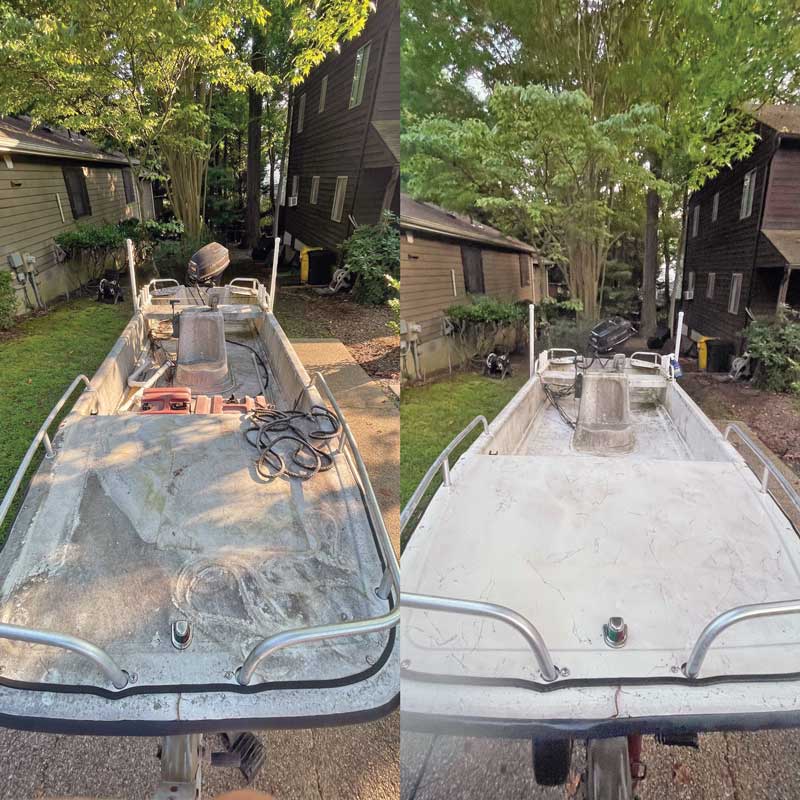
This skiff had been sitting uncovered for several years and was badly weather stained by organic material, so the first step was to wash down the boat as best as possible. Several passes using Star Brite ULTIMATE Extreme Clean spray, Magic Sponges, and some elbow grease did an amazing job of cleaning up the interior of the boat, as well as the hull. I removed some of the hardware that the previous owner installed and stripped most of the boat down in preparation for reassembly, as most of the components on the center console were dismantled upon purchase.
The Outboard
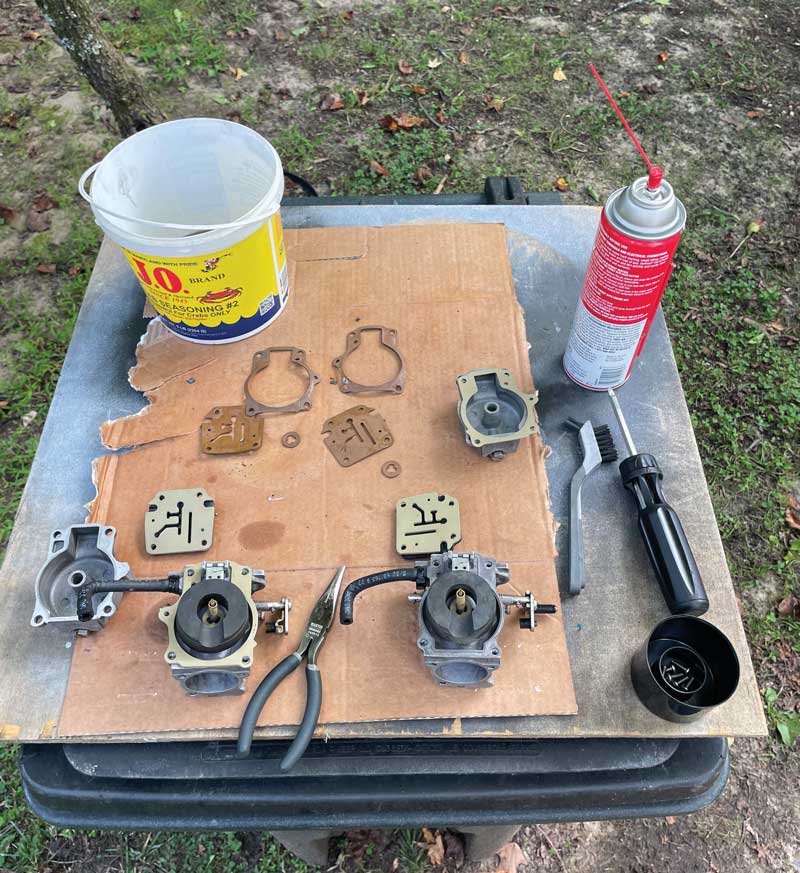
Before working on anything else, I wanted to determine if the 1996 Johnson would even start up. Hooking up an old battery proved that the starter was working just fine; however, the motor didn’t even try to turn over. The fuel line and tank were very old and showed signs of deterioration at the seals, so I went ahead and replaced them with a new 12-gallon Moeller tank to start fresh. This old two-stroke has dual carburetors, so tearing these down and cleaning them out was the first thing to do. Luck would have it that my local marine store had two carb kits for this nearly 30-year-old motor in stock. I took my time to carefully remove the carburetors, to insure I did not lose any one of the dozens of screws, bolts, pins, or springs holding these together. The float bowls visibly had considerable build up, so I used a small wire brush along with several cans of carb cleaner spray to thoroughly clean all jets and ports. The key components to install in the carb kits were the new seals to replace the old cracked and dry rotted ones. Before I reassembled, I made sure to adjust the angles of the carb floats per specifications. After the carburetors were reinstalled, I replaced the sparks plugs and gapped new ones to spec. I filled the fuel tank with standard 87 octane gasoline, mixed 50:1 with Quicksilver two-stroke synthetic blend oil, and treated with a small amount of marine Techron.
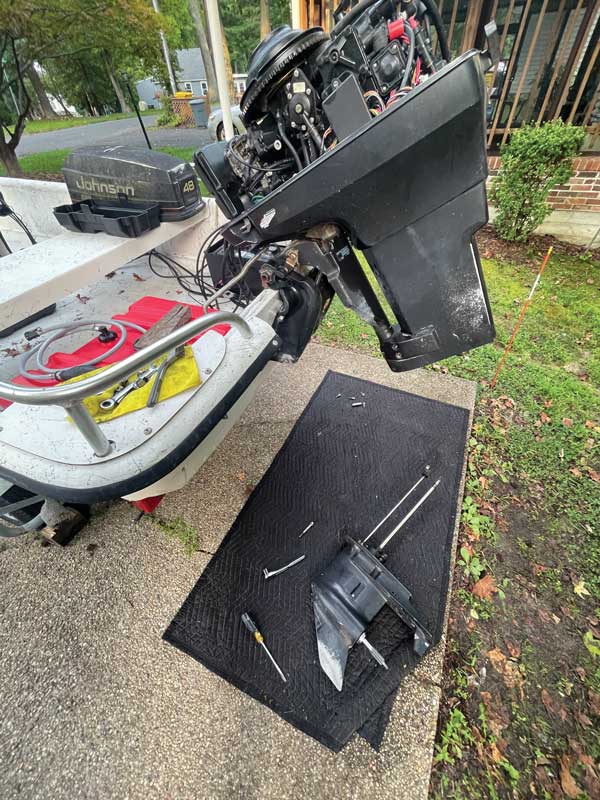
The motor fired right up, and despite it running about as rough and loud as you would expect a 1996 two-stroke would, IT WAS RUNNING! Unfortunately, there was no water circulating. So, I headed back to the marine store and believe it or not I was lucky again to find a water pump kit in stock for this old outboard. I spent some time researching YouTube on how to do the replacement process and I found that watching a few different videos on the same subject helped sift through the possible trials and errors one might encounter. I first removed the shift linkage and then the four bolts to disconnect the lower unit from the mid-section, being careful not to damage the spline end of the shaft as it dropped out. The shift linkage rod pulled out two rubber gaskets, which I’d have to figure how to reinstall later.
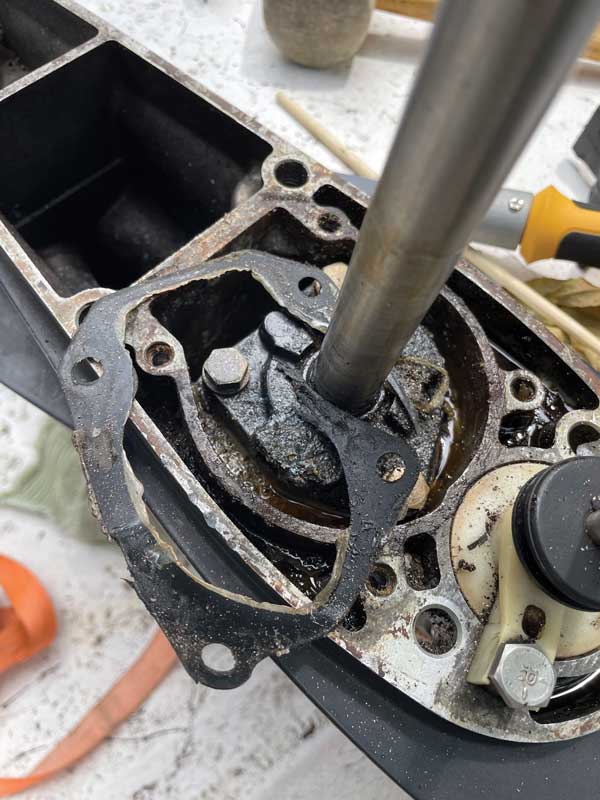
I dismantled the water pump and quickly discovered that the seals were badly deteriorated. The impeller was in okay shape but was due for replacement. All surfaces and cavities were thoroughly cleaned. The new kit included a new water pump housing, shaft key, impeller, and new seals. I applied gasket sealer liberally and placed the new seals before reinstalling the impeller and pump housing. I went ahead and replaced the lower unit gear oil while the lower unit was removed from the outboard. Then, I reinstalled the lower unit by carefully sliding the shaft and linkage rod back up into the mid-section. I slid the two rubber gaskets back on to the linkage rod prior to installation. The top gasket was a bit tricky to get seated back in its positions at the top of the shaft, but a long flathead screwdriver helped to pop it into place.
I started the motor, and it was running well; however, water was still not pumping out. The new water pump kit did not come with a new O-ring, and I neglected to reinstall the old one, so the impeller was not seated correctly. So, I repeated the process and reassembled the lower unit the correct way.
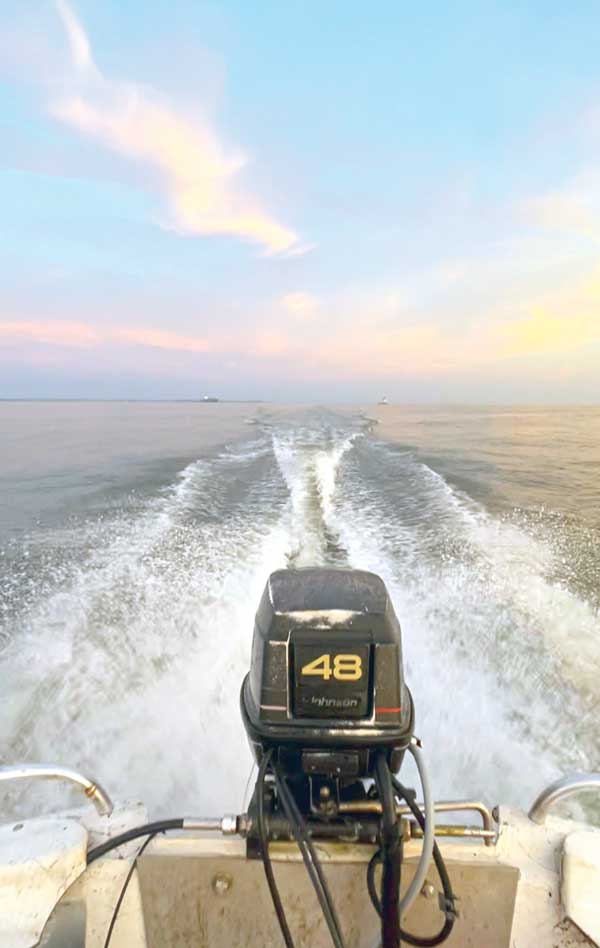
Moment of truth… I engaged the choke, turned the key, and the motor fired up in its true loud and obnoxious two-stroke form.
Next Steps
Now that I had a functional outboard, I had to get the rest of the boat in order. This was a simple task compared to the motor rebuild, as all that was necessary was to reinstall the console and cable steering. Or so I thought… The old steering cable had rusted and snapped off. Removing it was easy, but so much rust had built up inside the steering tube on the outboard that I had to MacGyver a tool to fix it. I wrapped heavy grit sandpaper around a plumbing snake and attached it to an electric drill. I inserted this device into the tube and worked on it for nearly half an hour before I opened it up enough to fit the new steering cable in correctly. I was lucky that my local marine store also had the proper steering cable in stock!
The next step was running the cable to the steering wheel on the console. Since the Carolina Skiff J16 does not have a bilge to channel cables through the hull, they are secured underneath an above deck fiberglass cable chase. I had to modify the steering column slightly and install a new helm bezel, but once that was complete the cable worked easily into the steering assembly. I installed a Humminbird Helix fish finder onto the console and ran the cables down the same route as the steering. I also replaced the light switches and tidied up the wiring somewhat.
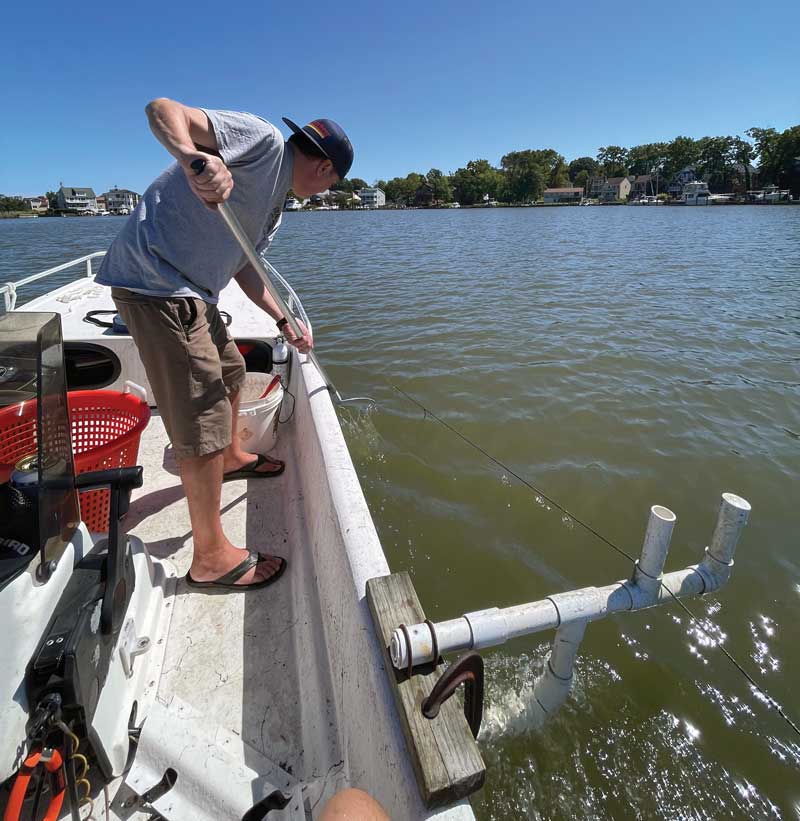
Once the windshield was installed, I was nearly complete. I used marine sealant to fill the screw holes in the deck and used new stainless screws to secure the fiberglass cable chase covering the wiring running to the stern of the boat. I secured the fuel tank using a cooler mounting kit and strapped down the batteries utilizing existing pad eyes on the deck below the bench seat. Finally, I was satisfied with the form and function of the boat. But before I hit the water, I needed the trailer to be refitted to get it there.
The trailer was originally built in 1984, but the frame was still in great shape. I replaced the winch and strap as well as safety chains. The LED taillights worked but were sometimes intermittent. I rewired all corroded connections with heat shrink and replaced marker lights with LEDs. The most expensive components were the new tires, new hubs, and bearing kits. Learning how all these parts are assembled on the axle was rewarding and surely will come in handy should a roadside emergency occur. Once I popped on the bearing buddies and greased up, I was confident it would pass inspection. I’d also like to note that by way of online appointment, scheduling, titling, and tagging of the boat and trailer with both the DNR and MVA respectively was a breeze.
After a few months of use, I had some issues with the motor refusing to start. Upon inspection I found some small red plastic pieces in the fuel line that indicated that I needed to install an inline fuel filter to prevent any particles from the fuel tank passing up through the carburetor jets. I also removed the fuel pump and cleaned out the filter screen with carb cleaner. While I was at it, I noticed a few of the plastic connectors and hose clamps needed to be replaced to seal up the fuel lines and did so with stainless hose clamps and zip ties where applicable.
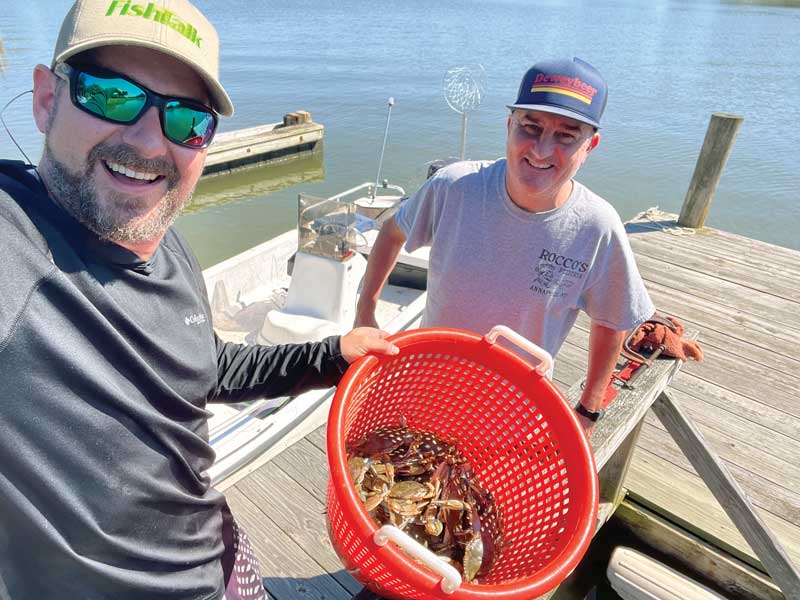
Seldom is there a day where I am not thinking about the boat or what else I need to work on next. All in all, I estimate that I spent around 40 hours getting the boat into shape, but with far less than the price of some of the fancy fishing kayaks on the market. I now own a functional boat that cruises 30 mph to my favorite fishing grounds. In just a few months it has already assisted me in catching and releasing some keeper-size rockfish, a whole mess of white perch, and a half bushel of crabs. Aside from a few fishing road trips adventures this year, my plans include upgrading to a modern and more efficient four-stroke outboard, adding an electric motor, and a new fish finder. But for now, I’m pretty sure you’ll hear me coming… glug glug glugga glug.
Thank you Mike and Sean! ~ ZD
By Zach Ditmars